Given I'm on a crafting spree and in between pretty much farigh... I figured I'd post more tutorials.
So now that we're back to it. I'm going to share paper roses... well rather, how to make them :) There are two varieties, both look beautiful. The difference is one looks a little different and is done with a paper punch and crazy scissors, the other one is pretty basic, and I think most of you reading probably want to start off with something that doesn't require an imported paper punch. :)


So now that we're back to it. I'm going to share paper roses... well rather, how to make them :) There are two varieties, both look beautiful. The difference is one looks a little different and is done with a paper punch and crazy scissors, the other one is pretty basic, and I think most of you reading probably want to start off with something that doesn't require an imported paper punch. :)


These are the roses I did for my Print Making Minor in University. I did them on boxboard, newsprint and drawing sheets... some were even newspapers! All had impressions of my prints.
So let's get to it now!
You're going to need:
scissors
paper... printed ones give amazing effects!
glue
a pencil
I'd have done a video tutorial, but i haven't the tripod.. mine broke :(

I had this paper left over from the other day, so I decided to make the rose out of it.

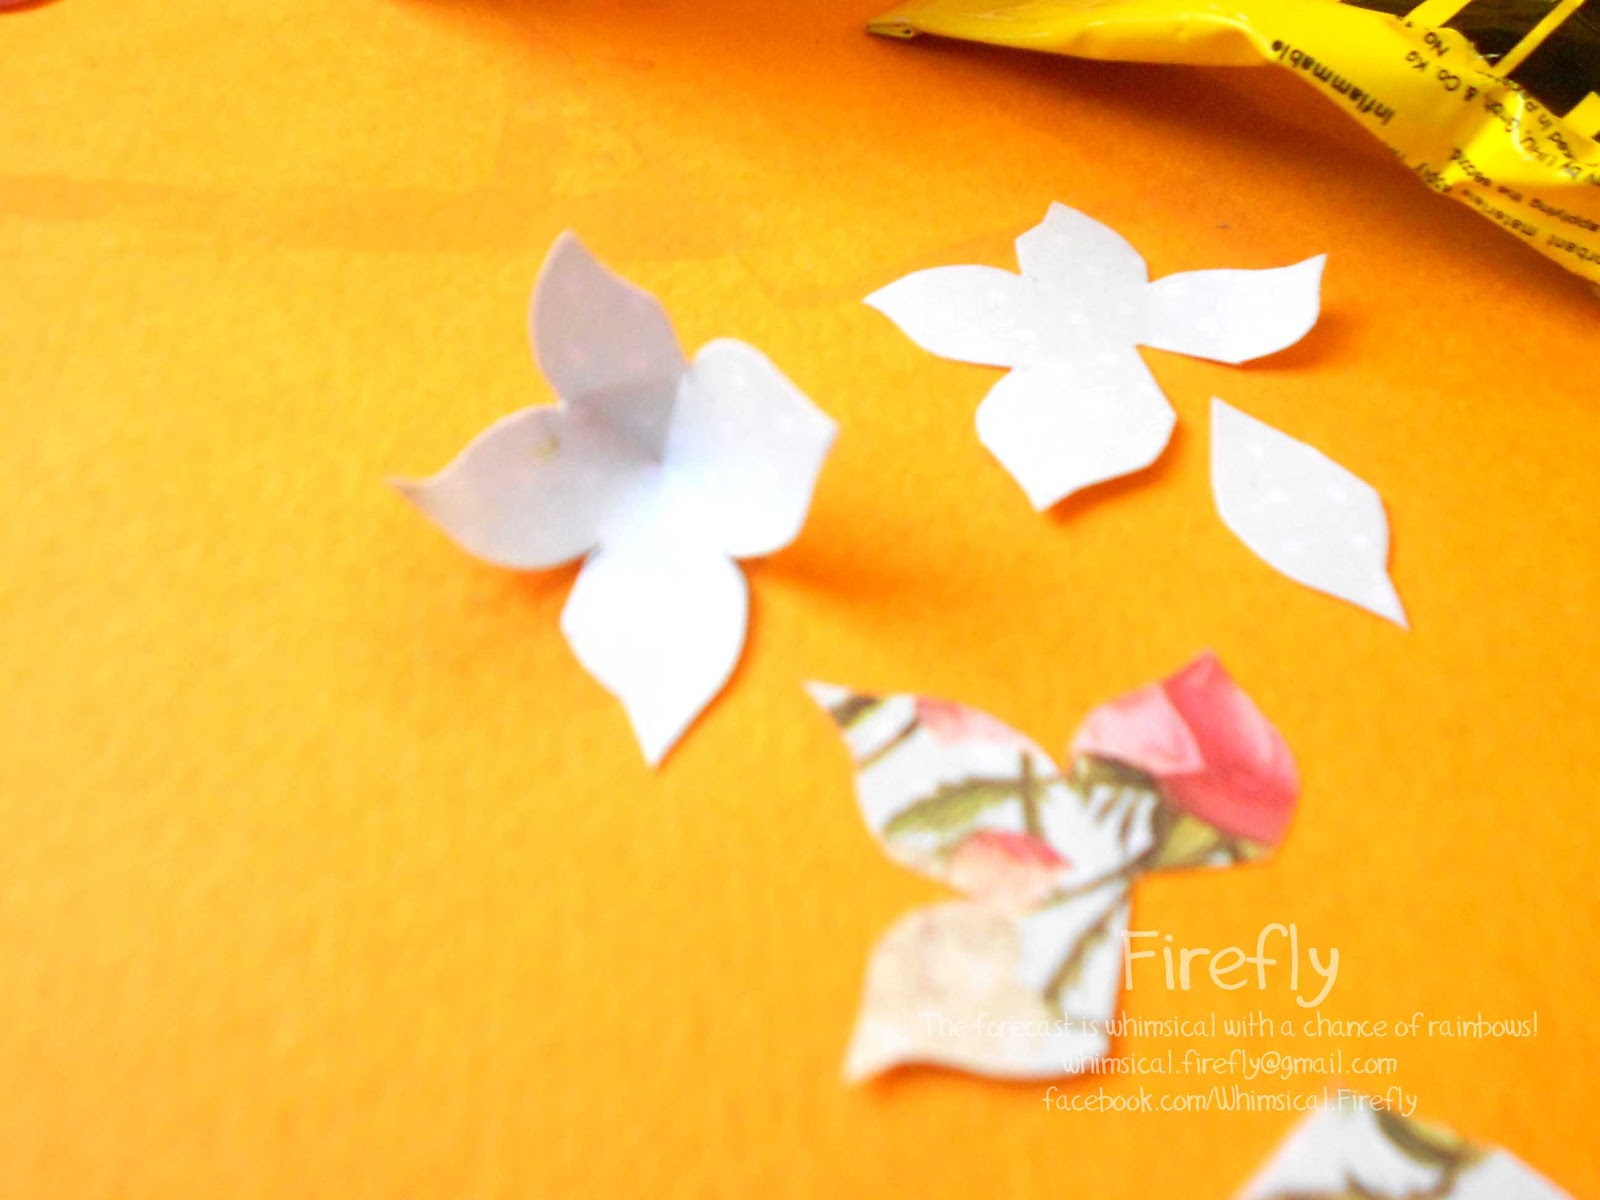
Draw a 5 pointed flower like this... it really does not have to be perfect. :) Ideal size would be 2 or 2.5 inches. You can go larger or smaller :)

Fold your paper in 3 panels, so you get 3 flowers when you cut one out. Being a little time saver here.

I'll be erasing these pencil marks.

See.. 3 flowers.

There they are.

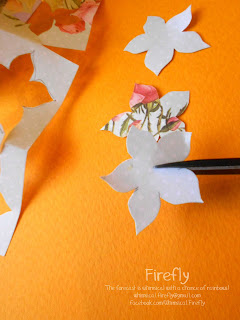
You're going to slit down between two petals on the first flower.

One the second and third flower, you'll cut one petal, and two petals as show above.

Now you pull out the uhu.. The flower with the slit, add a drop of glue to one petal, and paste the other over it.
You'll get something like that.

Do the same for the next few pieces, glue one petal over another.
For the two petal cut out, just roll it like you would for a cone... adhere on the corner edge.

You'll get something like this.

To achieve the 'rose' petal feel, I curl my petals under. Super easy to do, just use your fingers to bend the petal outward and under.

Those are your petals forming into the rose bud...

Once you've done this for all 5 pieces, you can start stacking them for your rose.
Just add a spec of glue in the center on each layer.

Now two of them are going to be super narrow and long, you can snip those. :)

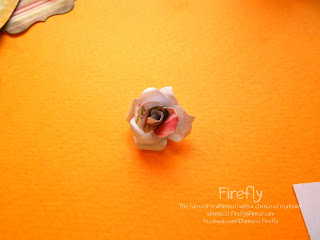
Once they're all on there... you'll have something like this :)

I distressed mine...
Wasn't that a breeze? Leave your comments below, would love to have some feedback, especially if you try these for yourself :)
No comments:
Post a Comment